
This article provides both visual and written instructions for setting up a new project.
Projects in Reveal are databases often equivalent to a specific legal matter, investigation, or analytical assessment. The Project is where users will review and classify documents for analytics and production.
A Company is required in order to create a new Reveal project. Users assigned to the company may then be assigned to projects created within that company and given appropriate role permissions. Clients too may be created within the company to facilitate billing reporting.
This document will set out how to create and manage projects in Reveal.
Getting Started
An Instance or Company Administrator will open Reveal to this landing page, containing sections to administer Projects (under Discovery), Companies, and Users (under Admin), as well as a table of projects for the current instance or company.
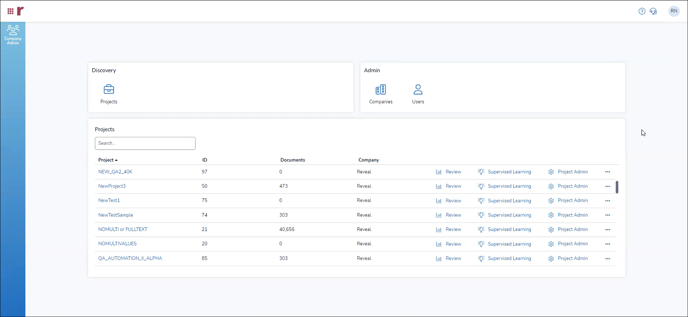
From this initial administrator landing page you may use Search to filter the list based on Project Name, and see summaries of, open, or edit individual projects.
Setting Up Projects
- In the Discovery box (or in the Company screen when managing the company), click Projects to create, configure, and populate matters for Reveal.
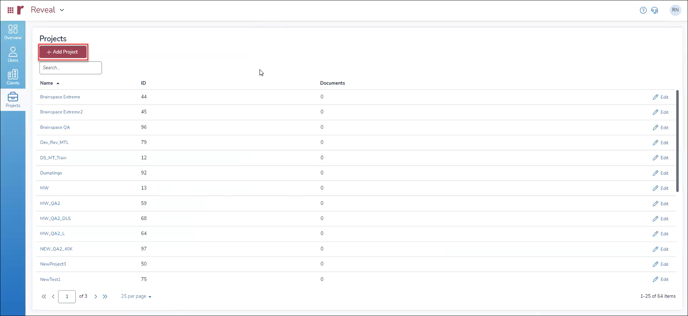
- The Projects screen will display with a Search filter and a table displaying the Project Name, ID, Documents count, and an Edit button.
- You may click Add Project to enter the following information:
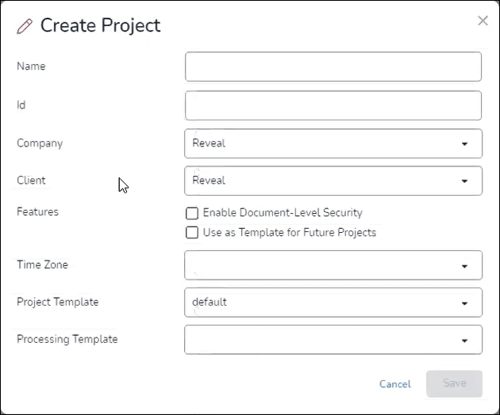
- Name
- Id – short alphanumeric identifier for the project.
- Company – Sets the company within which the project is created for Reveal and Processing.
- Client – Sets the client within which the project is created for Reveal and Processing.
- Features – There are two checkboxes here, neither checked by default:
- Enable Document-Level Security to extend Reveal security for Document Access to individual documents.
- Use as Template for Future Projects to name and reuse these project settings.
- Time Zone - Sets the time zone for project data in Reveal and Processing to automatically normalize email metadata shown in HTML, extracted text and tiff-on-the-fly views to match the time zone that is set for your project here. Reveal will also normalize email metadata shown in images when performing a production or print job. NOTE: The time zone cannot be changed after case creation.
- The following two items are projected to be enabled in an early iteration of Reveal 2024:
- Project Template – Select an existing Reveal project template from the drop-down menu.
- Processing Template – Select an existing Processing project template from the drop-down menu.
- Save when completed.
Managing a Project
A Reveal Project is managed under Company Admin in the user interface.
- Log in to Reveal as an Administrator.
- Select Company Admin.
- Company Admin will open to the Projects screen, listing current projects. A volume summary of all current projects appears at right. Any column in the table may be filtered by example. The columns displayed are:
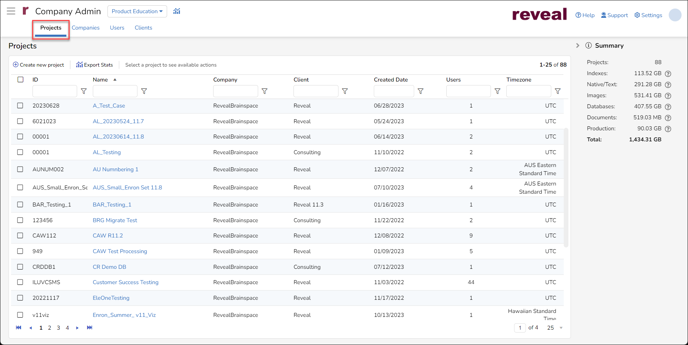
- ID – A unique alphanumeric identifier for the project.
- Name – The project’s descriptive name is a clickable link to the project detail screen.
- Company – The company under which the project was created.
- Client – The company client under which the project was created.
- Created Date – The date on which the project was created.
- Users – The current number of users actively assigned to the project.
- Timezone – The normalized time zone setting for the project; this value cannot be changed.
- In addition, there are two controls above the Projects table if no projects are selected:
- Create new project – Another way to access the project creation workflow described above.
- Export stats – Choose which project report to generate:
- Peak Billing Info – Selecting this prompts for a Start Date and an End Date to report maximum usage over the specific period.
- Case Stats – Outputs project table data plus storage statistics in each Summary category for each project.
- If a project in the table is selected (or multiple projects are selected), additional controls are displayed above the table:
- Create new project.
- Export stats.
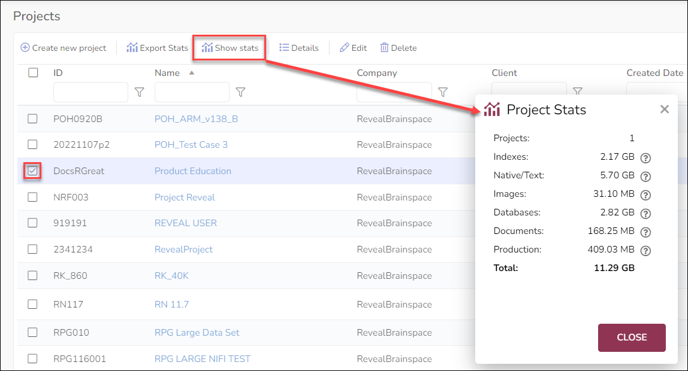
- Show stats – Displays a pop-up report of storage statistics for the project(s) selected.
- Details – Opens the Project Details screen, the same as clicking on the Project Name in the table.
- Edit – Opens the project directly to its Edit screen for updating.
- Delete – Removes the selected project(s). It is advised to apply this action with extreme caution only after verifying that no useful active data exists in the project.
- To view and manage a project click on the Project Name in the Projects table. The Project details screen displays:
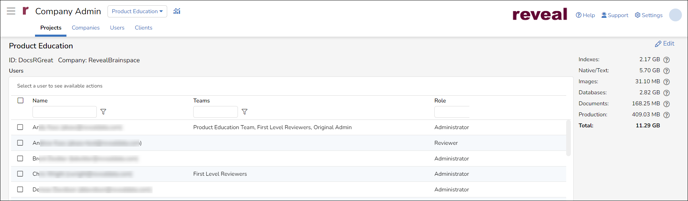
- The case name at the top with the Case ID and Company in the header;
- A listing of all Users assigned to the case with the assigned Team(s) and Role of each; and
- Summary case statistics in the shaded pane to the right.
- To manage project users or settings click Edit at the upper right of the screen.
- In the Edit Project screen the administrator may view the Project Name, ID and Time Zone; these values may not be changed after the project is created. Items which may be edited for the Project are:
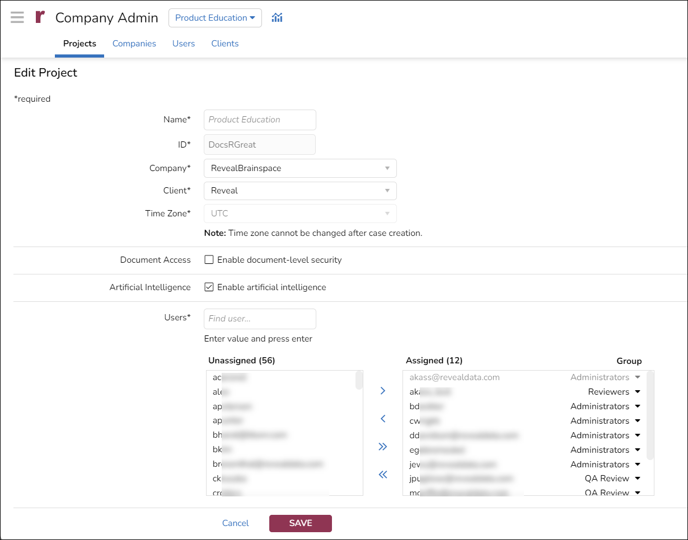
- Name is the display name of the project, which cannot be amended.
- ID is the internal identifier of the project, which cannot be edited.
- Company selects the Company with which the Project is associated.
- Client selects the Company Client with which the Project is associated.
- Time Zone for the project may be viewed but not changed.
- Document Access sets document level security on or off.
- Artificial Intelligence sets access to AI analysis; this is set ON by default.
- Users is where available users may be assigned to or removed from the project. Users assigned must have a security group specified in order to access the project. See How to Create & Manage Users for more information.
- Click SAVE when modifications are complete.
Last Updated 1/16/2024