
This article provides both visual and written instructions for redacting native files in a Reveal project.
Reveal provides users with the ability to redact native files . This technology allows an electronic spreadsheet to be produced in full native format with PII and other privileged or confidential information removed. This brief guide will explain how the process is implemented in Reveal.
High-Level Process Flow
 Identify Natives to Redact
- Identify documents to redact.
- Add them to a work folder or an assignment folder using either:
- Select and drag and drop (for work folders), or
- Bulk update or assignment from the Grid menu following searching and filtering (for work folders or assignment folders).
- The folder will be available for selection in Exolution.
Open Exolution Web Portal
- Go to the Exolution Web Portal, which is accessed by adding the prefix exolution-<Reveal_URL>.
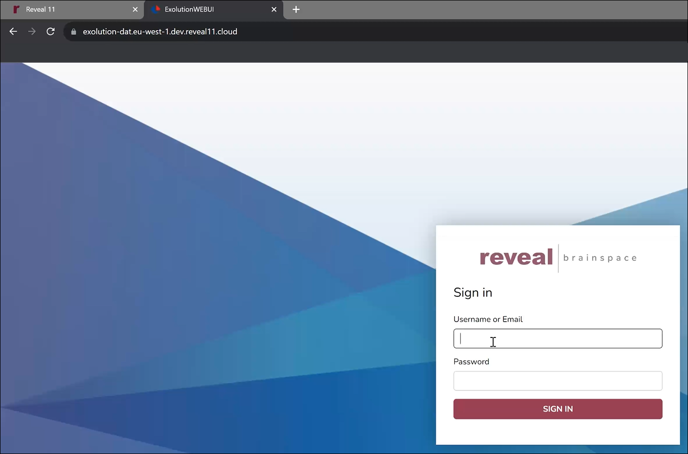
- Log in using your Reveal credentials.
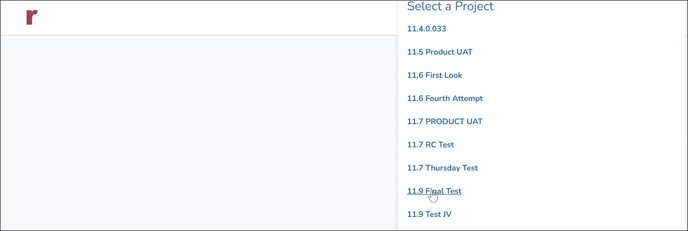
- Select your project from the list of Reveal projects displayed in the Exolution Web Portal.
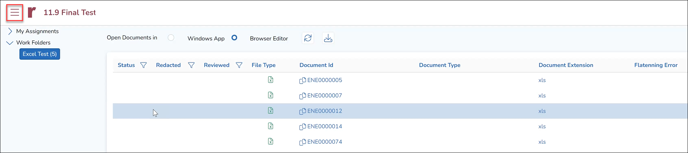
- The Exolution Project Screen opens to a sidebar containing My Assignments and Work Folders hierarchies for your user account and project. The table in the main part of the screen will list documents to be entered and run as folders are selected. You are offered the choice to Open Document in Windows App or Browser Editor; Browser Editor should remain selected unless your company policy permits Windows application installations.

Select and Prepare Documents
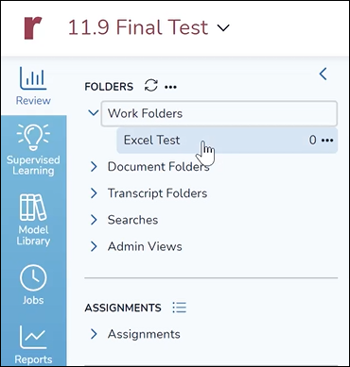
- Select the folder containing the documents to be submitted. The documents in the folder will be listed with File Type, Document Id and Document Extension initially.
- The spreadsheets or other native documents need to be “flattened” to prepare for the redaction process. Use the ‘hamburger’ menu in the upper left corner of the screen to select Prepare for Redaction.
- In the Prepare for Redaction screen, click +Add to create a Prepare Job.
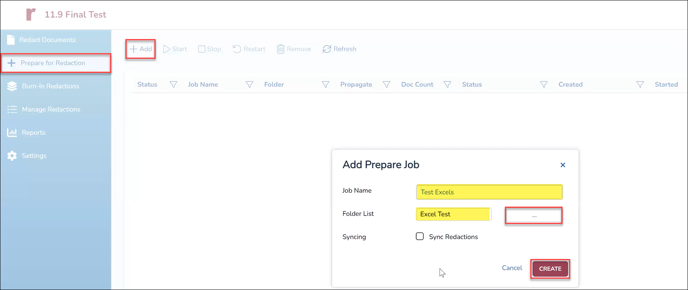
- In the Add Prepare Job window, enter a Job Name.
- Select the Folder List from the available Work and Assignment Folders.
- Click CREATE to create the job.
- The job will be listed on the main screen table with Job Name, Folder, Propagate, Doc Count and Created.
- Select the job and click Start in the table menu.
- The job listing will be updated, with a circular animation under the leftmost Status column, a Status description, and the date and time Started.

- When the job is completed, a checkmark will appear under the leftmost Status column, Processing complete should appear under Status, and the Completed date and time will be filled in.
- The documents prepared in this job are now ready to be redacted.
Redact Documents
- In the left sidebar menu click Redact Documents to return to the main project screen.
- A checkmark will have been added under Status for each document processed in the Prepare Job.
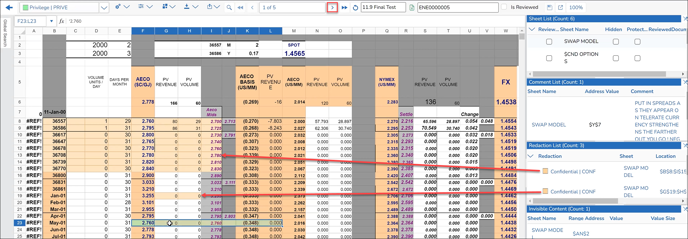
- Click a document in the list to select and open the Redaction screen. The viewer shows the native document. Notable items in the bar above the viewers are:
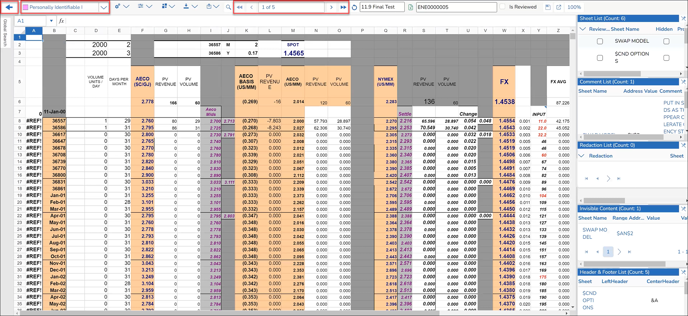
- The Exit arrow in the upper left corner returns to the Project screen documents listing.
- A pre-configured list of selectable Redaction Types.
- The document in the active list currently being viewed (here, 1 of 5), with arrows to go to first, previous, next and last documents in the list.
- Also displayed here are the Project name and the Document ID.
- Panels at the right side of the screen display:
- Sheet List (for spreadsheets) shows all worksheet tabs in the spreadsheet document.
- Comment List collects all embedded comments found in the document.
- Redaction List will list redactions as they are added to the document.
- Invisible Content reports on locations having text the same color as background, usually used to obfuscate information.
- Header & Footer List.
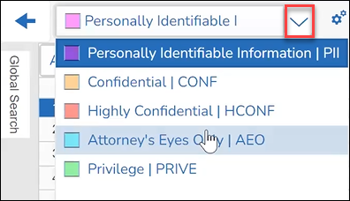
- To redact, first select a Redaction Type from the pre-configured list. Each item has a different color for ready identification of redaction types applied, and a long name separated by a vertical bar from a short name.
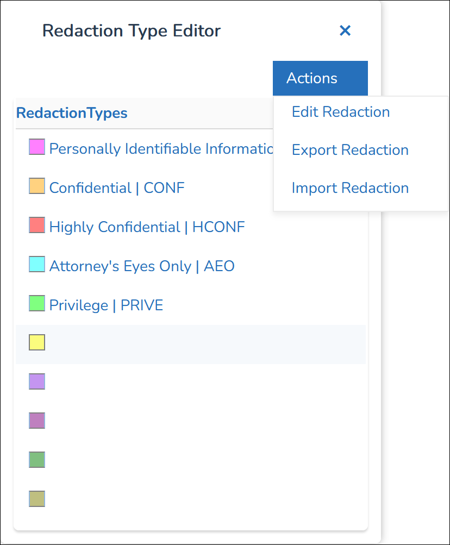
- Users can choose from the pre-configured types or they can create their own by clicking the gear icon and selecting Edit Redaction Types.
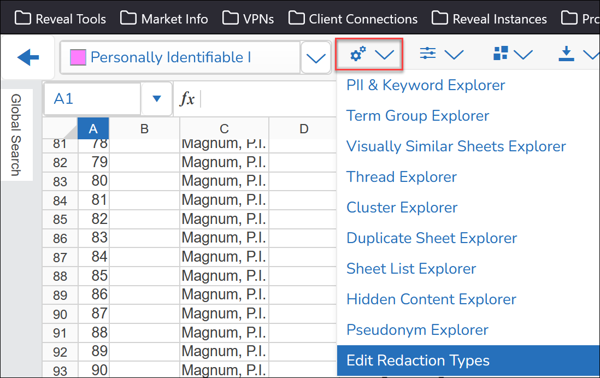
- This opens the Redaction Type Editor, where you may choose to edit one of the existing redaction types or define one of the unused entries. Select the defined redaction type or an available open color block, click Actions, and select Edit Redaction from the menu.
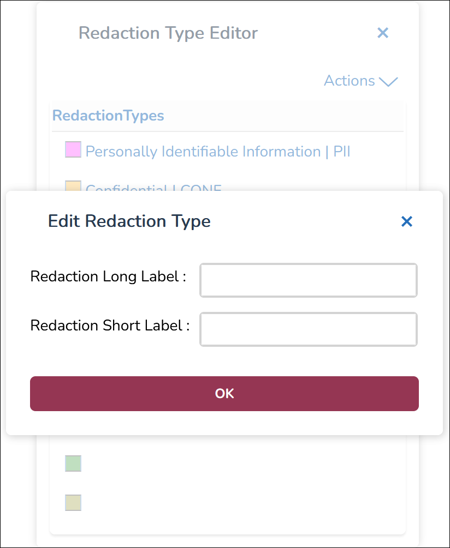
- In the Edit Redaction Type screen, enter Redaction Long Label and Redaction Short Label, then click OK. The newly-defined Redaction Type will be added to the Redaction Type drop-down list.
- Users can choose from the pre-configured types or they can create their own by clicking the gear icon and selecting Edit Redaction Types.
- Once a Redaction Type is selected, click and drag around the content to be redacted, then right-click to set that selection.
- To move to the next document, click the [>] button to the right of the current document (here, 1 of 5).
- A Confirmation box will ask Do you want to mark the document as Reviewed?
- Click Yes to save. Reviewed in Exolution only refers to the redaction process, not review in the Reveal sense.
- You may continue to navigate through the list to redact, and click the Exit [<=] arrow at the upper left corner of the screen when complete. Any changes to the current document will be subject to your response at the Confirmation
- This will return you to the Project documents screen, with checkmarks noting which documents have been Redacted and Reviewed. You may now elect to Burn-in Redactions.

Burn-in Redactions
- The redacted documents must now have the redactions burned in to native files and new text sets created with redacted terms omitted. Use the ‘hamburger’ menu in the upper left corner of the screen to select Burn-in Redactions.
- In the Burn-in Redaction screen, click +Add to create a Burn-in Job.
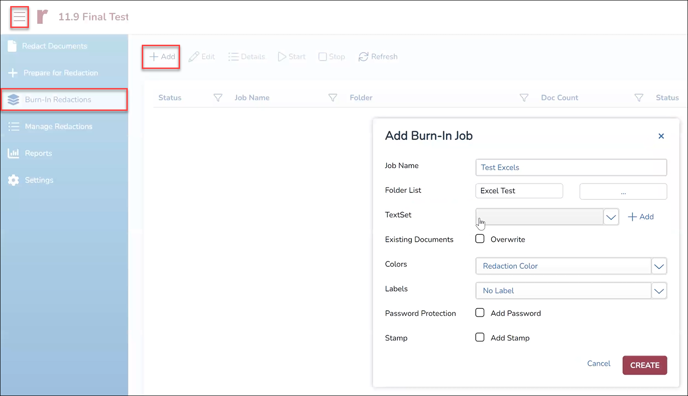
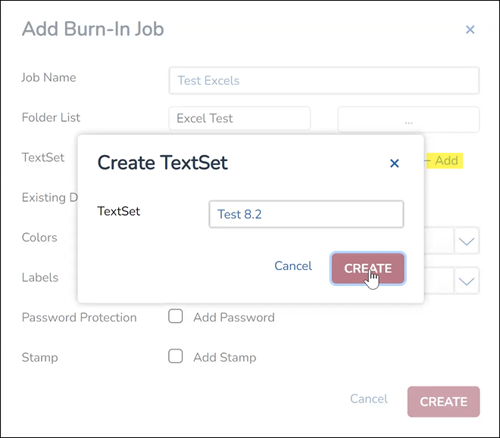
- In the Add Burn-in Job window, enter a Job Name.
- Select the Folder List from the Work or Assignment Folder(s) which supplied the documents flattened and redacted in this workflow.
- Select or create a TextSet to contain the redacted versions of the rendering and extracted text for these documents. If an appropriate text set does not currently exist, you may +Add it here. The TextSet name supplied will serve as the prefix for the rendering (Native) and for the extracted text (Text) versions of the redacted document. Creation of the new text set will be confirmed after clicking CREATE.
- Existing Documents, if enabled, would overwrite existing native versions of redacted documents. This is left unchecked by default.
- Colors offers a choice of how redactions should be presented in the newly-rendered document, using Redaction Color, All Black or All White.
- Labels offers a choice of specifying redaction labels:
- No Label
- Long Label – The long text of a defined Redaction Type.
- Short Label – The short text of a defined Redaction Type.
- Custom Label – Specify custom text for defined Redaction Types.
- Password Protection adds the option to set a password for the download of a redacted document; unchecked by default.
- Stamp adds the option to add a Redacted stamp to redacted documents; unchecked by default.
- Click CREATE to create the job.
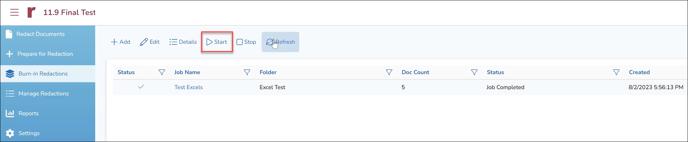
- The job will be listed in the Burn-In Redactions table with Job Name, Folder, Doc Count and Created.
- Select the job and click Start in the table menu.
- The job listing will be updated, with a circular animation under the leftmost Status column, a Status description, and the date and time Started.
- When the job is completed, a checkmark will appear under the leftmost Status column, Job Completed should appear under Status.
View Native Redactions in Reveal
“Job Completed” in Exolution means that the redacted document data is now in the process of being incorporated into the Reveal project. To do so, the following items must occur:
- Redacted documents sent to the Reveal document store.
- Exolution metadata updated.
- Text Sets added and updated.
- Indexing of new renderings and extracted text.
This may not be complete the instant that you return to the Reveal browser window, depending on the volume of material redacted. A few actions in Reveal will bring the Exolution redactions into view.
- In Reveal, go to Project Admin from the left-hand navigation panel.
- Select Fields.
- Under Field Profiles, select Exolution and click Edit.
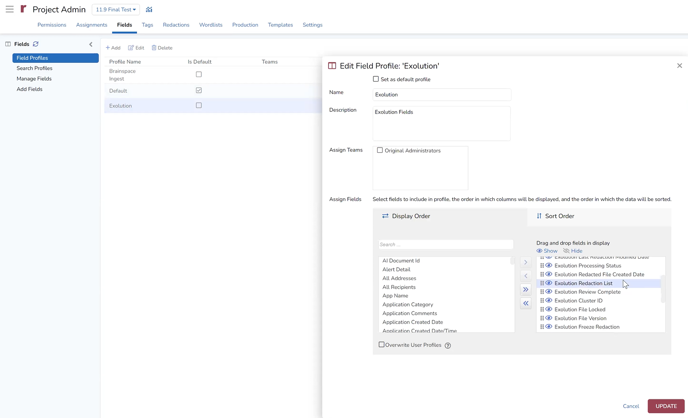
- Here you will be able to
- Assign Teams that will be able to access this field profile, and
- View Exolution metadata fields listed under Assign Fields.
- Once you have added your team to the Exolution field profile, go back to the main screen and open the Work or Assignment folder selected for Exolution redaction.
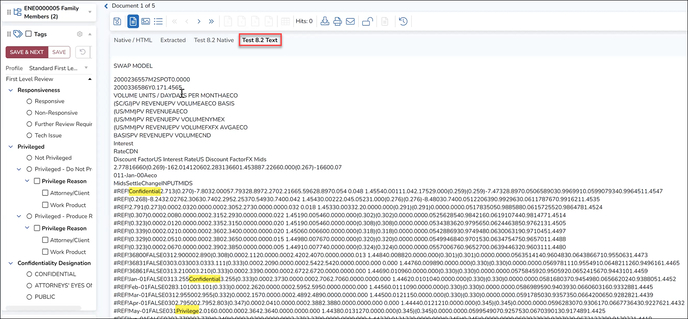
- Open the first document in the folder.
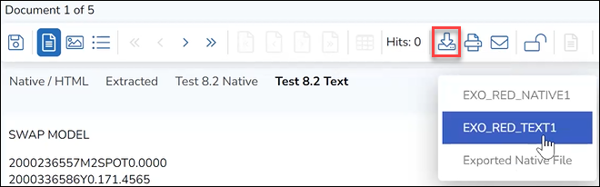
- You will see two additional text sets at the top of the Native/HTML viewer:
- <Burn-in TextSet name> Native

- <Burn-in TextSet name> Text
- <Burn-in TextSet name> Native
- You also have the option to download either of the redacted versions in addition to the native document.
- Returning to the Grid, we can see Exolution metadata updated to the Exolution field profile.

- These redacted documents, text and metadata are available for production from Reveal as may be required in the course of litigation.
For a deeper briefing on the integration of Reveal with Exolution see Native File Redaction – Exolution.
Last updated 10/06/2023