
This article presents the process of printing a batch of selected documents to PDF.
NOTE: As of Reveal 11.7, the modal window launched by this action may be moved around the screen by moving the pointer to the top title area; when it becomes a hand, click and move the window as needed.
Non-Audio Video Tutorial

To Print a set of documents to PDF, first run a search, or select a filter, a folder of documents, a saved search or checked documents in the current Grid list to specify the documents to be printed.
With the deployment of Reveal 11.10, updates will be implemented without interrupting running print jobs. This will facilitate continuous improvement of Reveal without impact on workflow.
- Click Print on the Grid Toolbar.
- Act On - Choose Selected documents (if relevant) or All documents in results list.
- Settings - Choose format options for the printed output.
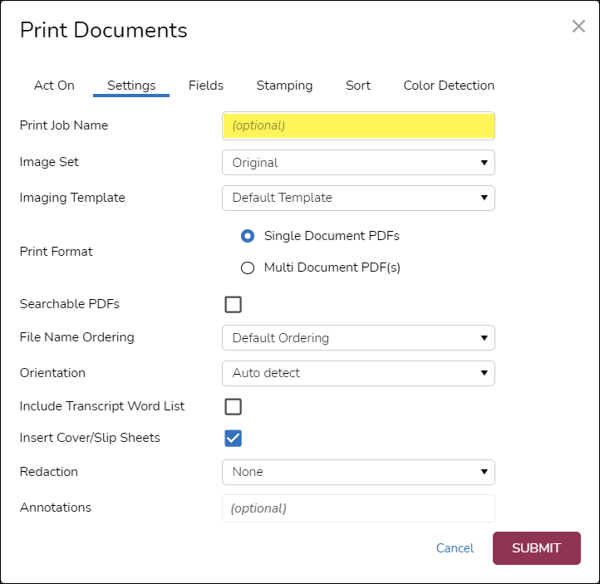
- Print Job Name - Optional but worthwhile to identify the print job.
- Image Set - Choose between the Original loaded or generated image, a production set, or other processed version of a document image.
- Imaging Template - Specifies how the image will be rendered, as optionally customized in part in the Color Detection tab.
- Print Format - Select between Single Document PDFs (for individual PDF documents) or Multi Document PDF(s) (for a consolidated PDF containing the entire set, where documents should be separated by specifying slip sheets; a very large document set may be divided).
- Searchable PDFs - Check for the option to recognize text for the print images.
- File Name Ordering - Choose between Default Ordering (by default sort order), Field Value Ordering or Prefix Ordering.
- Orientation - Select between Auto detect (default), Portrait or Landscape.
- Include Transcript Word List - Check for option to add word list to transcript print output.
- Insert Cover/Slip Sheets - Check to generate a cover sheet for single document PDFs or slip sheets important to multi document PDF output, containing fields specified in the next tab.
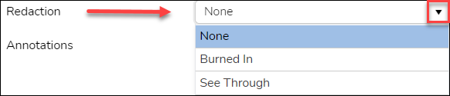
- Redaction - Option to include Redaction profiles as Burned In or See Through in Print output.
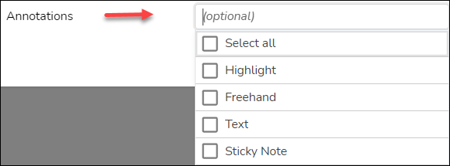
- Annotations - Options for adding Annotations such as Highlight, Freehand, Text or Sticky Note.
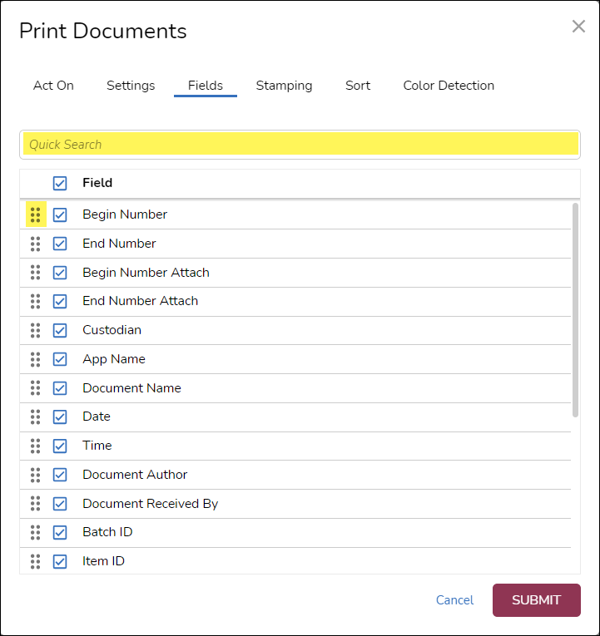
- Fields - Select fields from the current Field Profile to be printed to a cover or slip sheet. Quick Search may be used to locate a specific field. All fields displayed in the current Field Profile are selected by default.
- Stamping - Specify stamping of the output pages. If Stamping is selected, you are offered extensive options similar to those available in Administration > Productions.
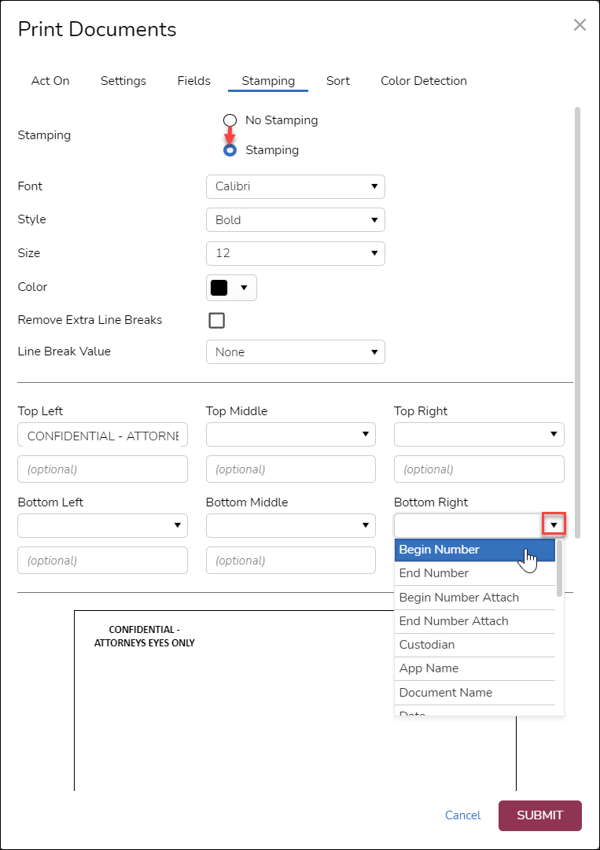
- Choose Font, Style, Size and Color (defaults are Calibri Bold 12pt Black), whether to Remove Extra Line Breaks, and optionally specify a Line Break Value from ASCII 10 (new line), ASCII 13 (return), or ASCII 30.
- You may specify either selected metadata or optional custom text for each of Top Left/Middle/Right and Bottom Left/Middle/Right. Custom text and [Fieldname] placeholders will appear in the Approximate Preview Page image below.
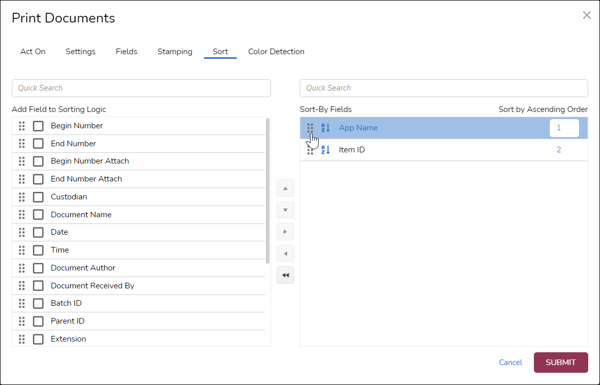
- Sort - Specify the print output order of documents by field. Begin Number is the default, but as seen in the example below other fields may be specified by either drag and drop or select and arrow. Multiple field sort ordering may be set either using the grab handles to position the fields or by changing the Sort by Ascending Order value.
- Color Detection - Options to adjust recognition and rendering between color and black and white images.

- Click Submit to run.
- Results will be displayed in the Print table on the Jobs Management screen.
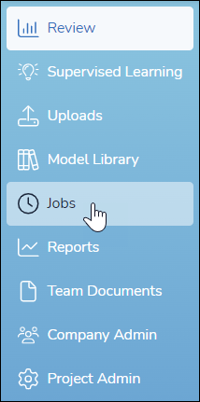
- Click Jobs on the Navigation Pane.
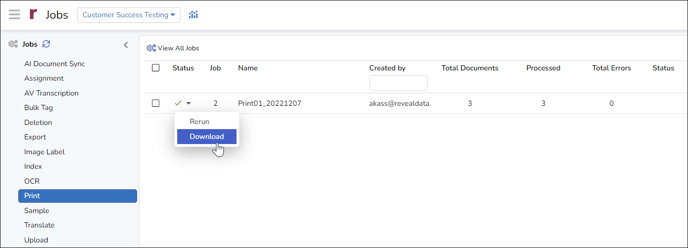
- Under Jobs, click Print.
- Right-click on the Print job status icon (a green checkmark when complete) to Download from the job menu.
You may also receive an email notification with a download link.
- Click Jobs on the Navigation Pane.
NOTE: As of Reveal 11.7, the modal window launched by this action may be moved around the screen by moving the pointer to the top title area; when it becomes a hand, click and move the window as needed.
Last Updated 9/05/2023