
This article explains how to connect users with one or more role permissions in a project.
Non Audio Feature Tutorial
The second Project Admin > Permissions tab manages Role Groups, a place where Users in a project are assigned to a group which is then connected to a Role to designate what the group's users are permitted to do in the Project. Role Groups afford administrators the ability to Add or Edit a Group name or optional description and Assign Users to a single Role Group. Role Groups then map to access permissions using Assign to Role, the selection displayed in the table's rightmost column.

Here is how to add or edit a Role Group:
- Log in to Reveal as an Administrator.
- Open a Project, or click Admin at the Project Hub.

- A Project Admin window will open to the Permissions screen.
- The second tab in the menu at left opens the Role Groups screen, which will display the default role groups created with the Project:
- Administrators - All permissions. This would normally be a System Administrator responsible for the entire review environment.
- Client Administrators - All permissions except user management and deleting documents. This role group is a good fit for a Project Manager.
- Power Reviewers - Review permissions plus the ability to see all documents, some bulk operations and public item management are included by default.
- Reviewers - The ground troops of the discovery process: may view, code, and redact documents as well as bulk tag related documents by default.
- To create a new role group (for example, QA Review for quality assurance), click Add.
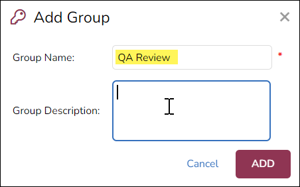
- Enter a required Group Name.
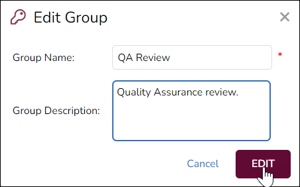
- Group Description is optional but can be helpful; it may be added later using Edit.
- Click ADD when complete.
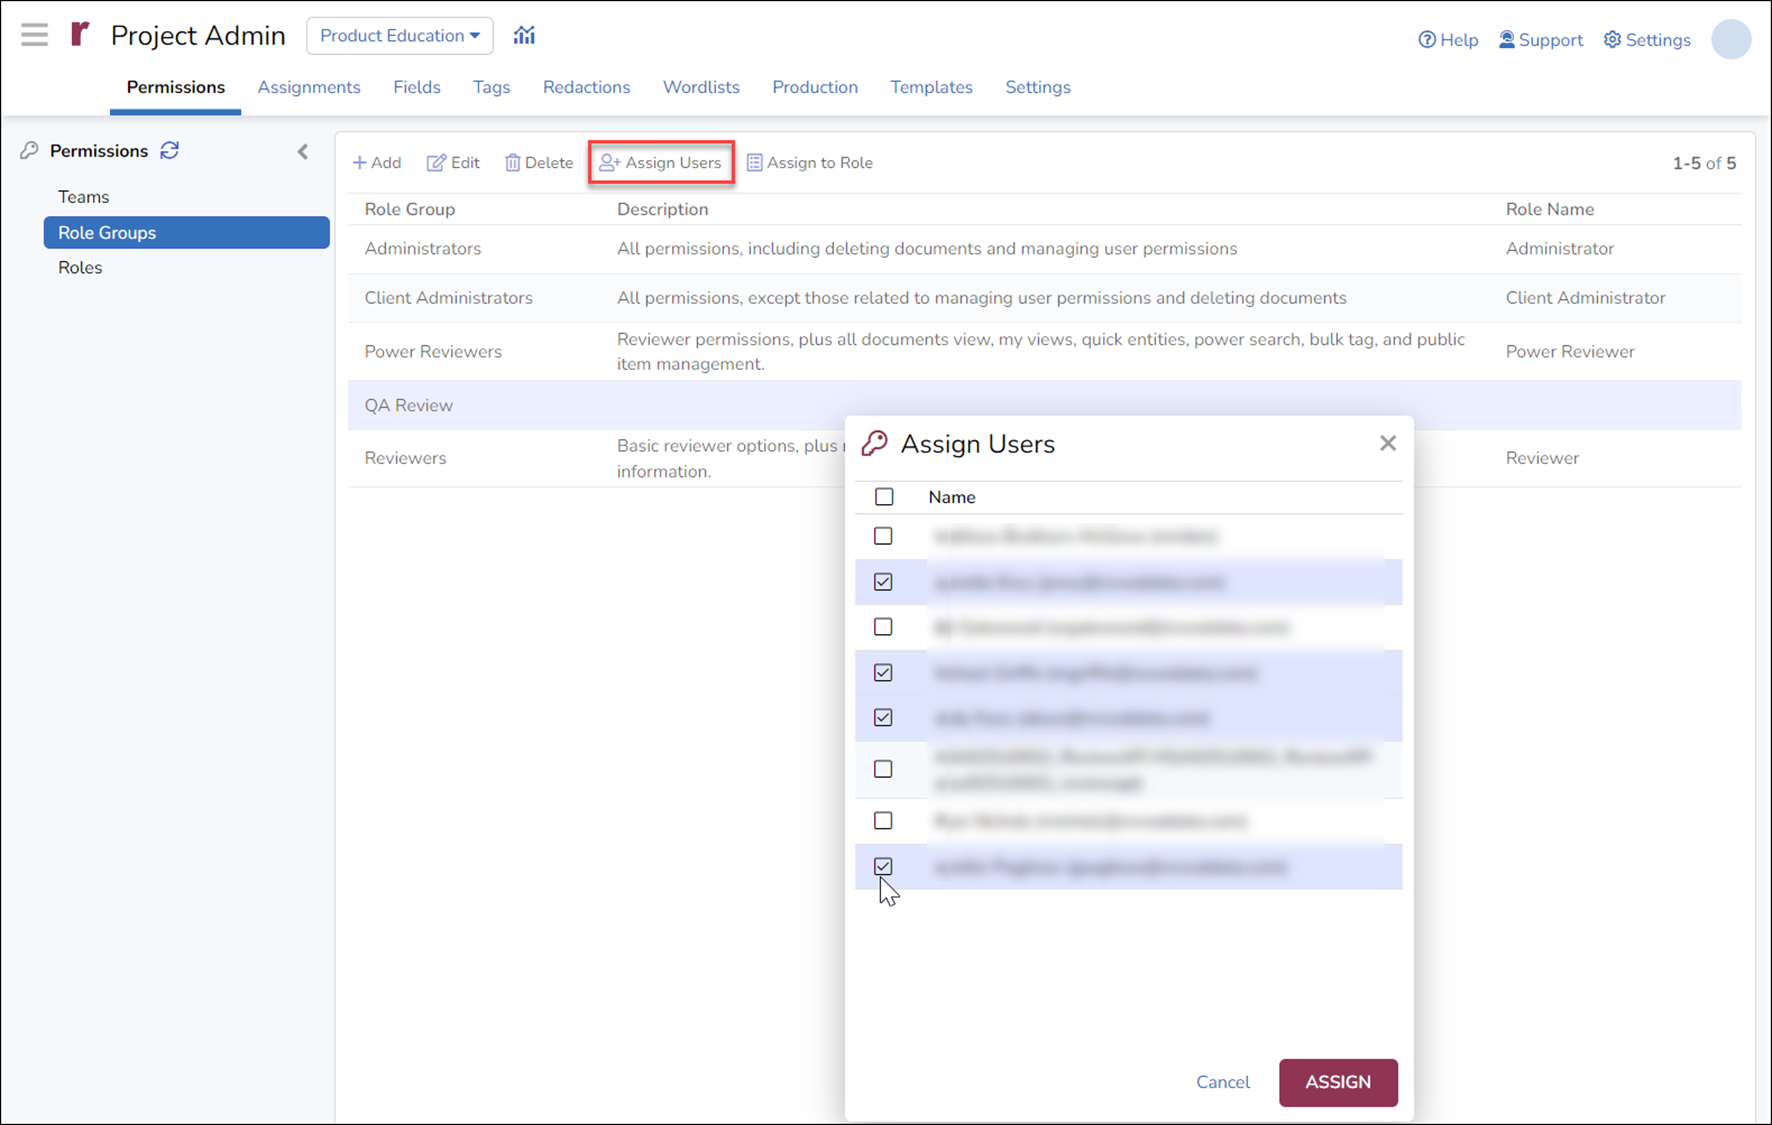
- Next, highlight the group in the list and Assign Users. Select users to be added to the group and click ASSIGN. A User may be a member of only one Role Group.
- Role Groups then link their users to a Role. Map the Group to access Role permissions using Assign to Role. Click ASSIGN to map the selected Role.
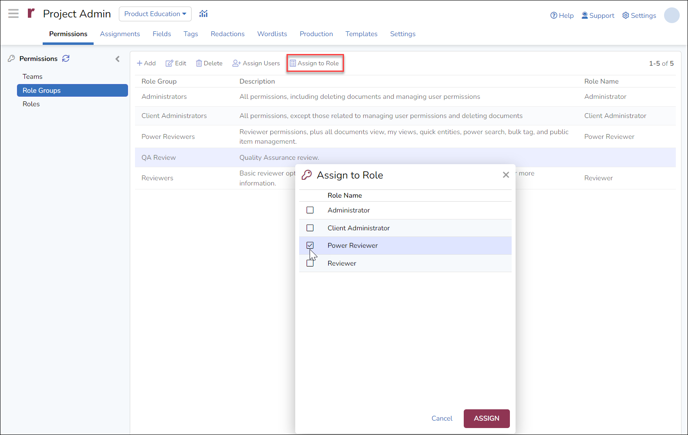
- The four default Role Groups are mapped by default to a Role with the same name.
- A new Role Group may be mapped to an existing Role, or to a custom Role that the administrator may define under Roles; in the latter case, it is a good practice to assign the same name to both the Role Group and the Role.
For more information about Reveal permissions see
- How to Set User Team Membership and Permissions
- Permissions Administration
- How to Create Teams
- How to Create Roles
Last Updated 12/02/2022